
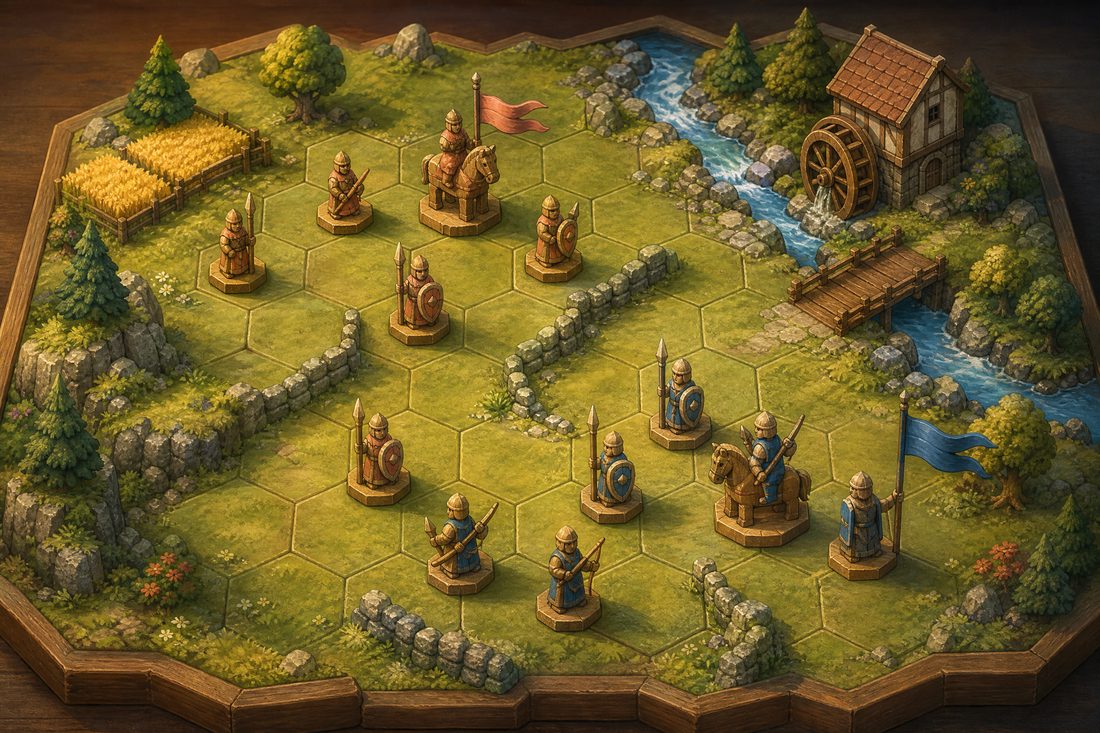
The opening skirmish is beautifully constructed. Six units, a bridge, a stone wall, and a numerically superior enemy that can be beaten only by holding the crossing for two turns and then flanking through the hedge line.
It teaches nineteen rules in twenty-six minutes without a single redundant panel, and we retained seventeen of them at the ten-hour check. As a piece of instruction it is close to exemplary. As an introduction to this particular game it is actively misleading.
What it teaches, and how
| Rule group | Count | How it arrives |
|---|---|---|
| Movement and terrain cost | 4 | Shown — the stream is visibly expensive |
| Facing and flanking | 3 | Shown — the required flank demonstrates it |
| Cover and elevation | 4 | Shown — the wall changes outcomes visibly |
| Unit roles | 5 | Mixed — three shown, two stated |
| Turn order and interface | 3 | Told — brief and appropriate |
By any measure this is a well-built tutorial. The terrain does the explaining, the required manoeuvre is the lesson, and nothing is stated that could be demonstrated instead.
The wrong lesson
Because the skirmish has exactly one solution, it teaches — silently, and very effectively — that this game's battles have correct answers to be found.
They do not. From the second battle onward, Hedge And Halberd is a game of managing bad options under uncertainty, where two or three approaches are defensible and none is clean. We spent roughly the first six hours looking for the intended solution to each encounter, losing repeatedly, and treating our losses as failures of deduction rather than as normal outcomes.
That misapprehension came entirely from the opening, and it is invisible in any card-by-card assessment of the rules taught. It is the strongest argument we have found for judging an opening by what it implies as well as by what it states.
An opening teaches two things at once: the rules, and what kind of game this is. The second lesson is never written down and is much harder to correct.
How it could keep both
A second scripted skirmish, immediately after the first, that can be won two different ways — with the game acknowledging both. That is one additional map and a line of dialogue, and it would convert the false lesson into a true one without giving up any of the clarity the first battle achieves.
The game very nearly does this at hour three, where a mission has two viable routes. By then the habit has set.
The retention check
Seventeen of nineteen rules intact at ten hours, which is second only to Hollowbrook. The two losses were the stated unit roles — the ones told rather than shown — and both concerned a unit type we had barely used.
The pattern in this file is now consistent enough to state plainly: shown rules survive, told rules survive only if the player uses them soon afterwards.
The rest of the game
Very good, and the second-longest thing in this file. Sixty-three hours of small, dense battles with a campaign layer that is more forgiving than it first appears — losing a battle costs you position rather than the run, which is why the opening's implication of solvability is such a shame.
The unit variety is excellent, the visual clarity of the board is exemplary, and the difficulty settles into a good place around hour eight. The story framing is negligible and could be removed without loss.
| Element | Assessment |
|---|---|
| Rules taught in the opening | 19, no redundancy |
| Retention at ten hours | 17 of 19 |
| Implied lesson | False; costs about six hours |
| Board clarity | Exemplary throughout |
| Story framing | Negligible |
Where this leaves it
A technically excellent opening that teaches one thing it did not mean to. Recommended without hesitation, and worth entering with a single piece of advance knowledge: after the first battle, stop looking for the right answer, because there is not one and the game is better for it.